Coach
What to change, and what's ready to train — your recovery map, muscle balance, advice, and daily nutrition guidance in one place.
What this page does
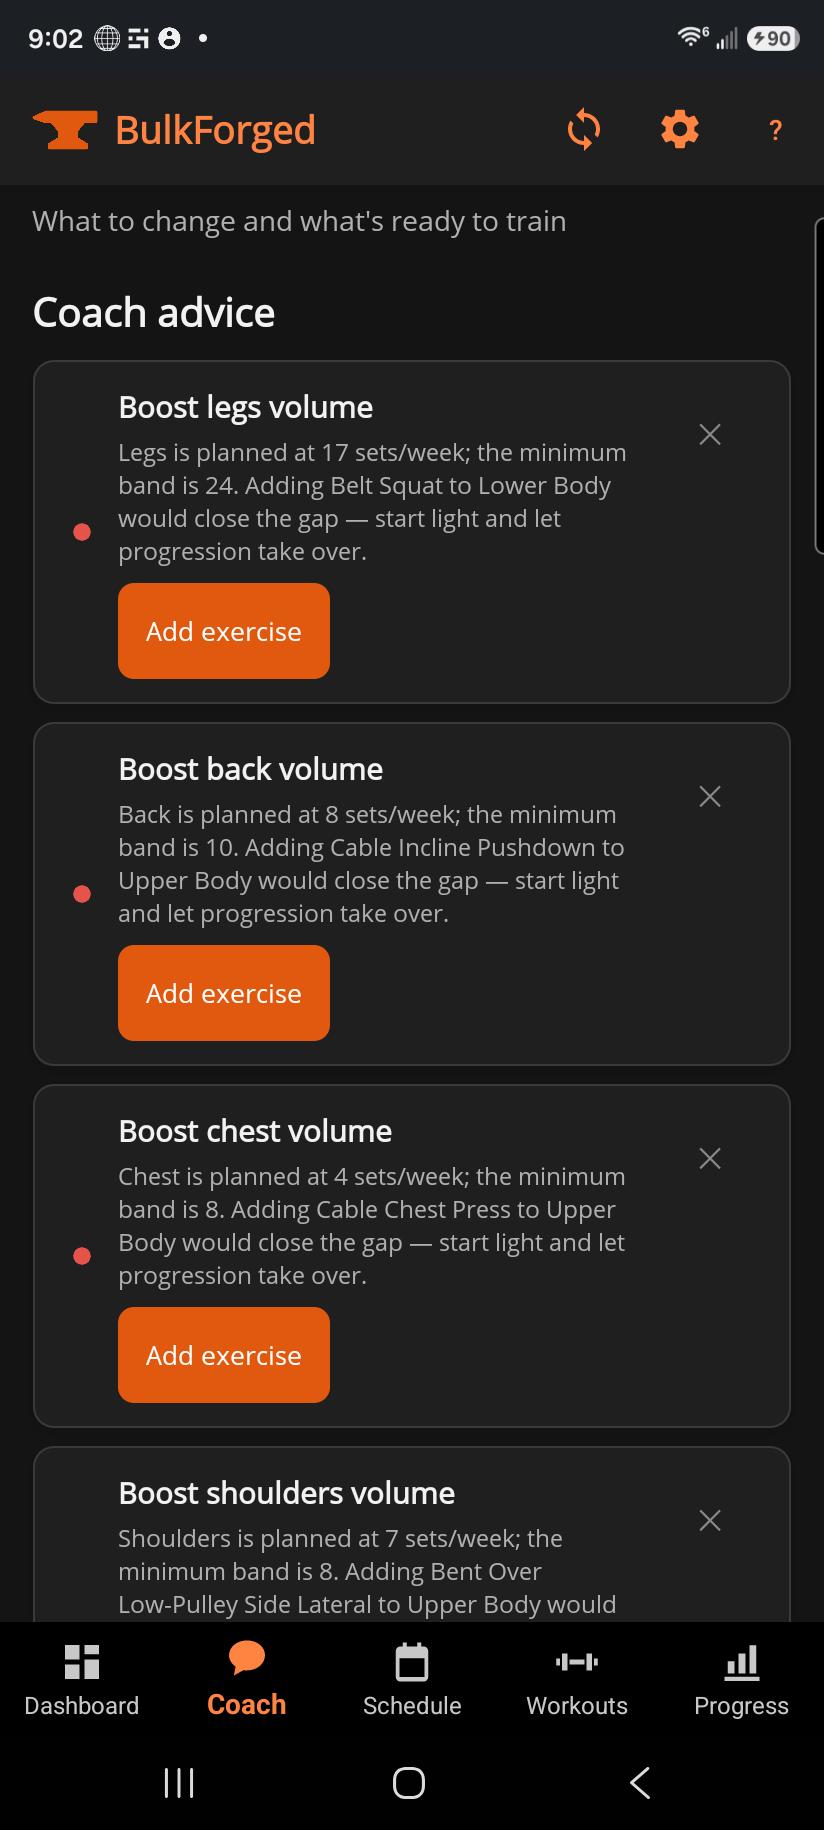
Four sections, each with its own empty state until you've logged enough history: Coach advice — rule-based cards flagging things worth acting on, like a stalled exercise or an active deload; Muscle recovery — the full body heat-map and a per-region readiness list; Muscle balance — a radar chart comparing your planned weekly sets per muscle group against the target bands; and Nutrition — a daily calorie and macro range built from your goal, weight, and training day.
Step by step
- Read an advice card, then tap its action button if it has one (for example, swap an exercise, add volume, or start/end a deload week) — or ✕ to dismiss it.
- Check the recovery map for which muscle groups are still recovering versus ready; tap a region for its detail.
- Check muscle balance for muscle groups running under their weekly target band.
- On Android, tap Ask the coach in the header to open a chat about your own training data — see "AI Coach conversations" for what it can and can't do.
Good to know
A new install sees all of this. You get a coaching preview first, so every section on this page works on your own training before you decide anything.
Coaching is a paid plan after that. If it is locked, this page shows one card in place of the sections. Logging workouts still works and your targets hold exactly where they were. Nothing is lost, and coaching carries on from the same numbers when it is unlocked.
The Nutrition card's headline is today's number — a rest day, a scheduled training day (estimated from your recent history at that routine), or an already-logged day (actual calories burned) each get a different figure, with the weekly average shown underneath for context. A deload day is treated as a training day, never penalized. None of this is medical advice — it's a general range to aim at over a week, not a target to hit exactly every day.
Related: What coaching includes, How progressive overload works, What is a deload week?, AI Coach conversations.